Happy Hoppin’ - DIY Project


Pull-apart Easter card DIY
It’s time to upcycle! We’ve teamed up with craft-based designer - Kitiya Palaskas to turn your Easter into a time of creativity & wonder.
With a few quick cuts and some strategic sticking, transform your Happy Hoppin’ chocolate box into a special Easter card that you can gift to a friend. Please note, little hands may need an adults' help to complete this project.

You will need
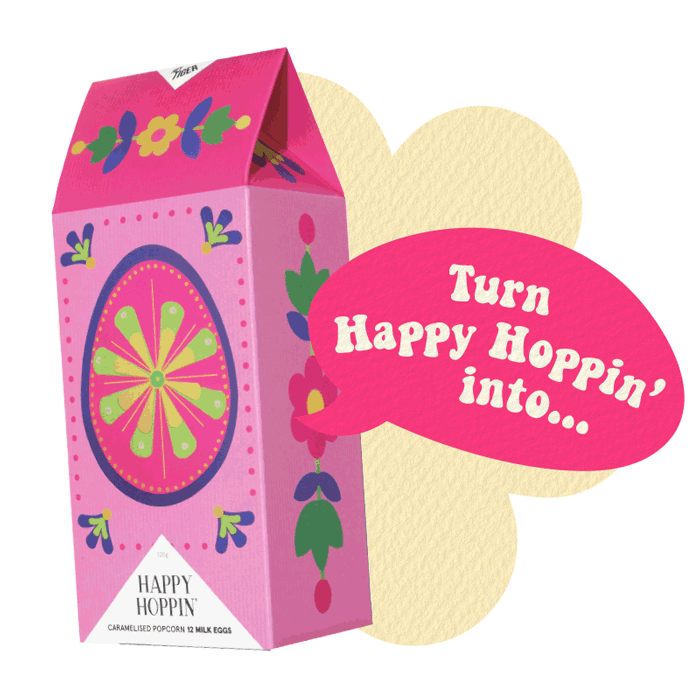
- An empty Happy Hoppin’ chocolate box
- Scissors
- Double-sided tape
- Ruler
- Pencil
- Marker (for writing on your card)

Step 1
Carefully open up the chocolate box and flatten it out. Be careful not to tear the box as you do so. Cut out the Easter egg illustration and floral side panel.

Step 2
Cut out the top panel with the Hey Tiger logo on it and the matching back panel. Make sure you also include the 2 triangular side flaps when you’re cutting out the back panel. You’ll need these later.

Step 3
Turn the Easter egg over and draw a zig zag line across the back. Use this as a guide to cut along, creating 2 halves that look like a broken egg.

Step 4
Use the ruler and pencil to mark out a thin rectangle around the floral motif on the side panel segment that you cut out earlier. Cut this out to form a floral strip.

Step 5
Make concertina folds along the floral strip so it looks like a zig zag.

Step 6
Use double-sided tape to attach the Easter egg halves to the top and bottom sections of the concertina-folded strip, with floral motif facing backwards. Write an Easter message on the plain side with a marker.

Step 7
Now you’ll need the top panels you cut out in Step 3. Fold the triangular side flaps in and use double-sided sticky tape to affix the front panel to these. This forms a little sleeve that you can slot your Easter card into.
And there you have it! Write a little note on your carefully crafted card and give it along with some delicious choccies (if you haven't consumed it all yet that is...we may have a habit of doing that) to your nearest and dearest!
Once you've completed this one, take a peek at the rest of our adorable Eastery DIY's.
And make sure to hop over to Kitiya's page to watch her How To Video's on Youtube here.

Sign up to our newsletter
Join the Hey Tiger community to be the first to know about exciting updates, new releases, and exclusive offers.